Unbuilding the Bridges
August 11, 2005:
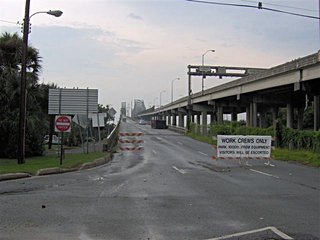
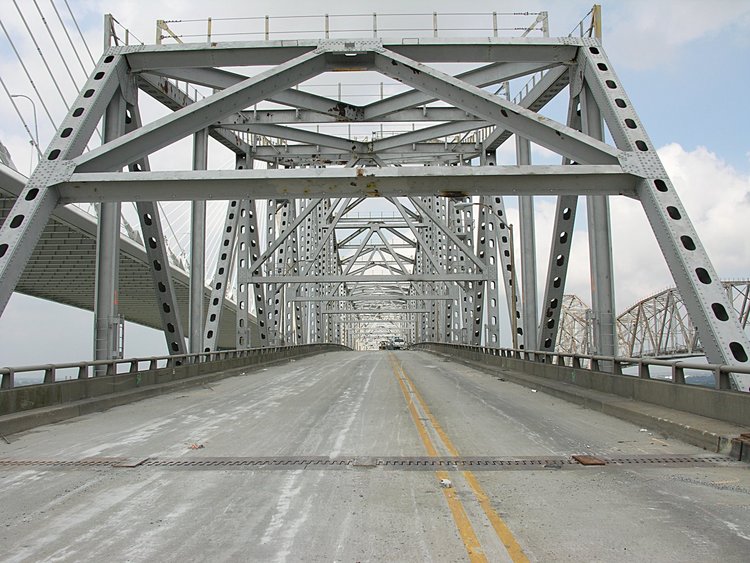
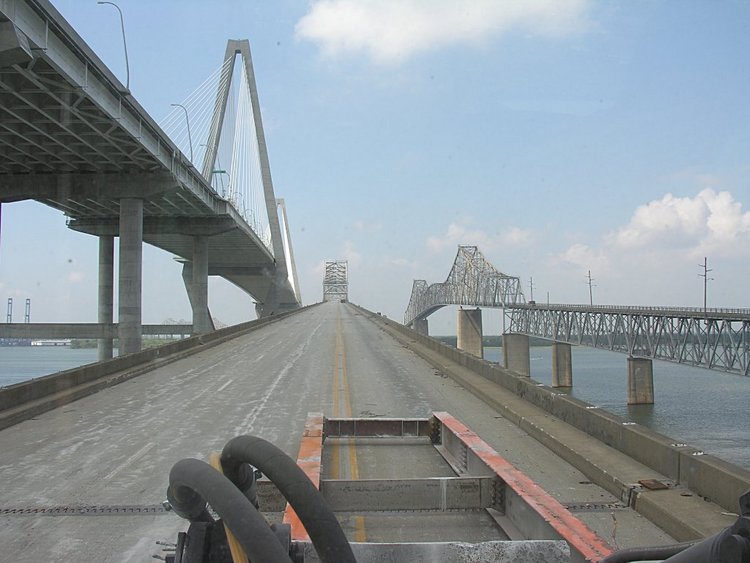
First looks at the Grace and Pearman Bridges
There is quite a bit of nostalgia in these photos. Many of you remember
my 7am Sunday morning bicycle rides across the Pearman. This was
the first strategy I used to
obtain some close-up photos of building the deck and pulling the stay cables
of the Ravenel Bridge.
My bicycle path, shared with the other early Sunday morning
traffic is no more.
That the bridge is disappearing is a great relief to my wife, Ellen, who
looked on my Sunday morning bicycle adventures as a source of great anxiety.
I managed to survive my bicycle adventures -
thanks in part to the Mt. Pleasant police that,
from time to time, ran interference for me.
Later, SCDOT, PBC and Freyssinet played a major role in reducing
Ellen's anxiety
by providing additional options for some of the detailed photo essays.
Today, while walking the Grace Bridge, I can clearly see in my mind's
eye, each place I stopped and took photos of
the growth of the Charleston and Mt Pleasant approaches as well as the
twin towers and building the main and back spans.
Now for the current story:
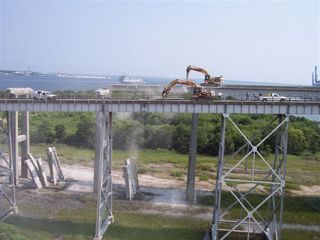
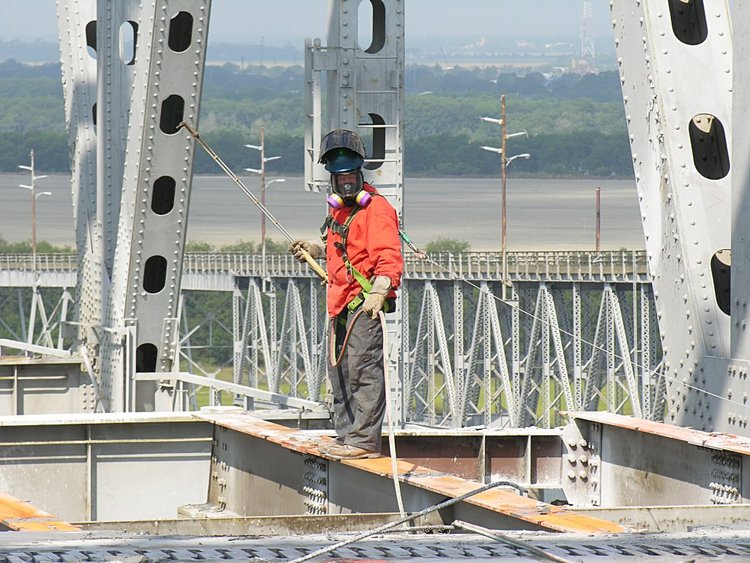
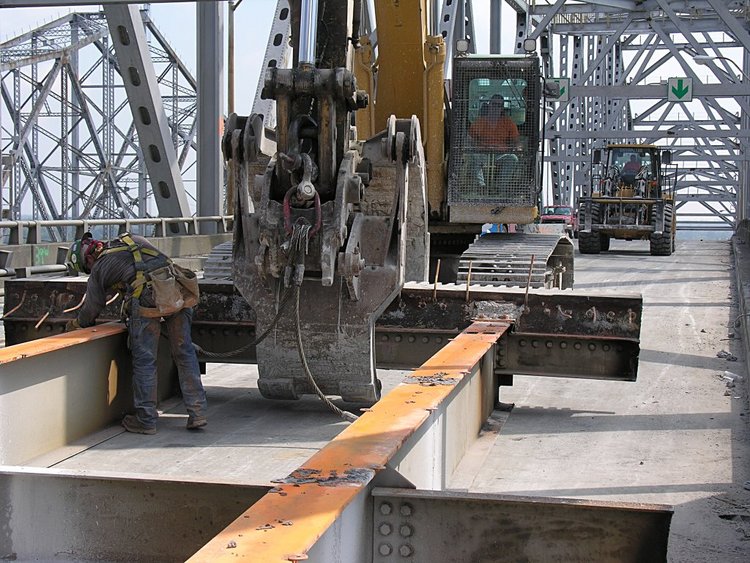
The Grace (left) Ravenel and Pearman approach (right). Much of the
recent demolition has focused on removing the approaches up to the steel
superstructure. Here you can see the pairs of piers with their caps, but
gone is the roadway and edge barriers.

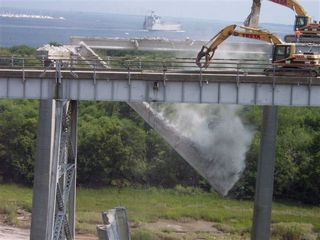
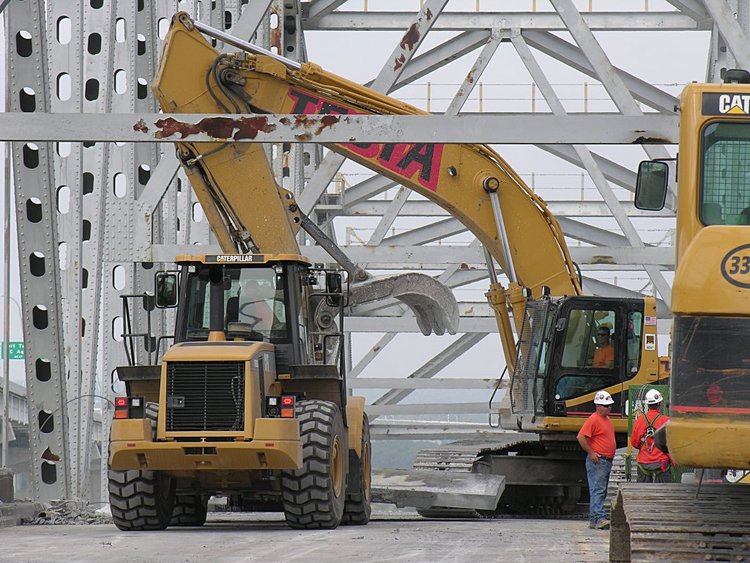
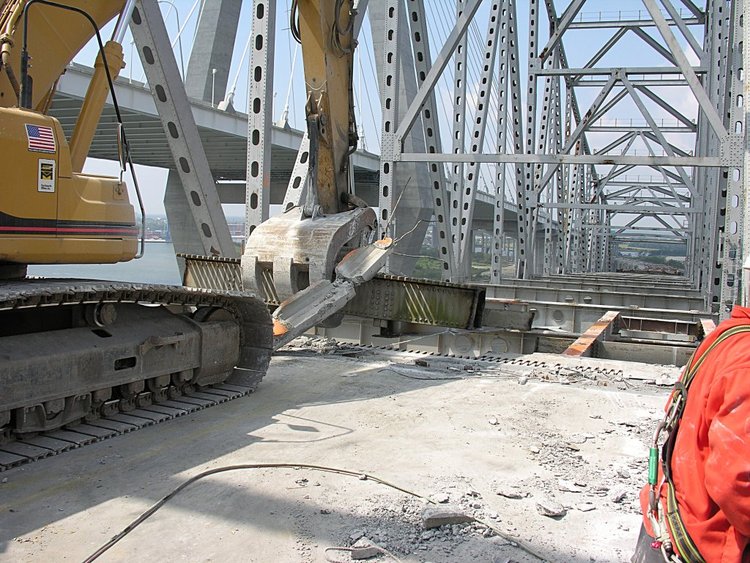
Looking west at the end of the Pearman approach from US 17, note
the clean shave the Cashman-Testa folks give each segment. And
of course, in the background is one of the Stanley-LaBounty
mobile shears (what I refer to as bridge eaters).

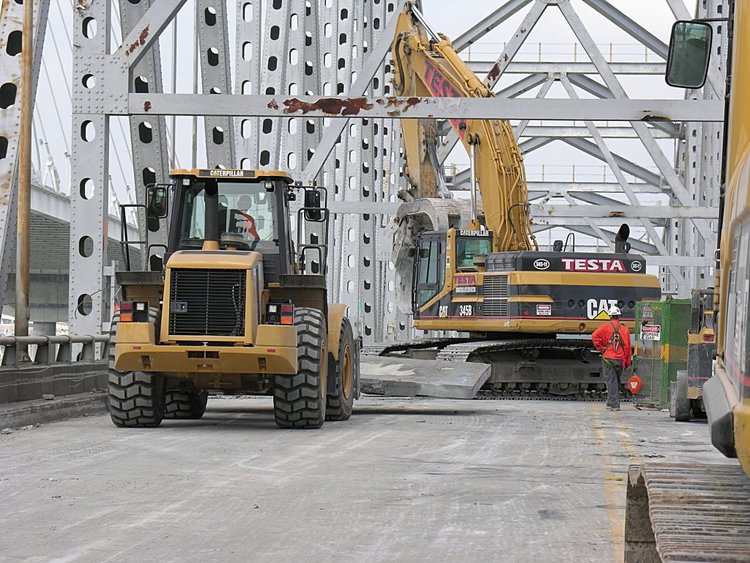
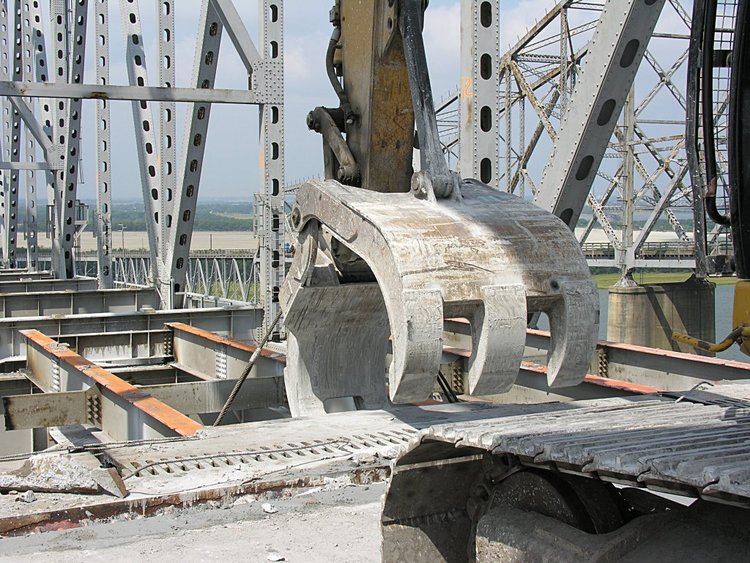
Testa's "jaws" in action - removing the side barriers (left)
and the symmetry of the Grace steel structure


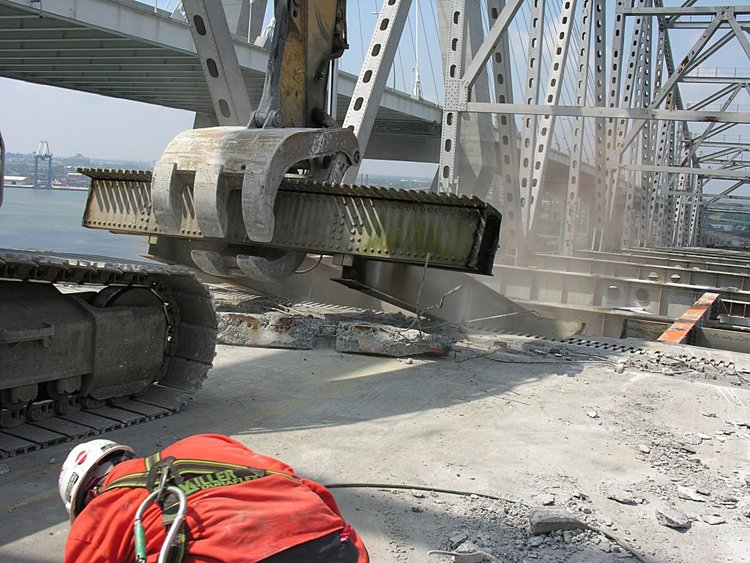
August 16, 2005: Sparky does it again - unbuilding the Pearman
Two shearing machines biting through a girder

A graceful descent and planting a component of Charleston's Stonehenge
Monument

resting is its final landing spot


Not much left of the Drum Island segment.
Looking back at the Pearman: what-used-to-be-my-Sunday-morning-bicycle-route

August 17, 2005 A short progress report
Can you image the Pearman bridge without traffic? My Sunday morning
bicycle rides were never like this - even at 7am!

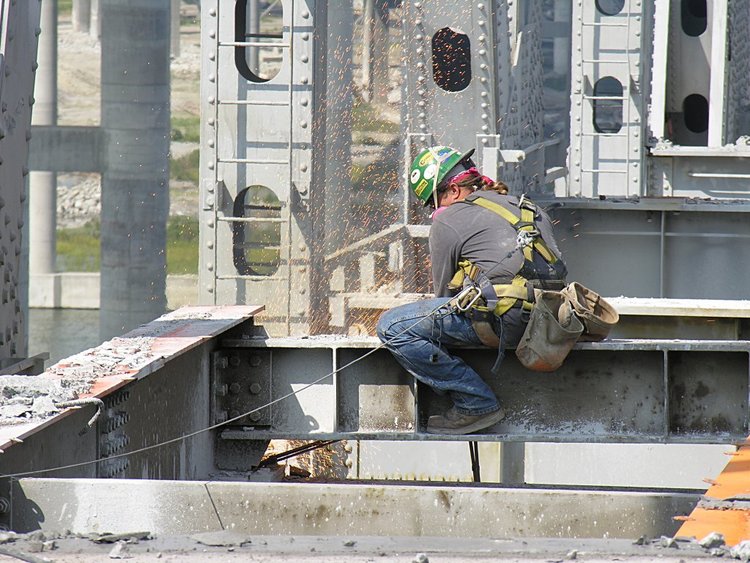
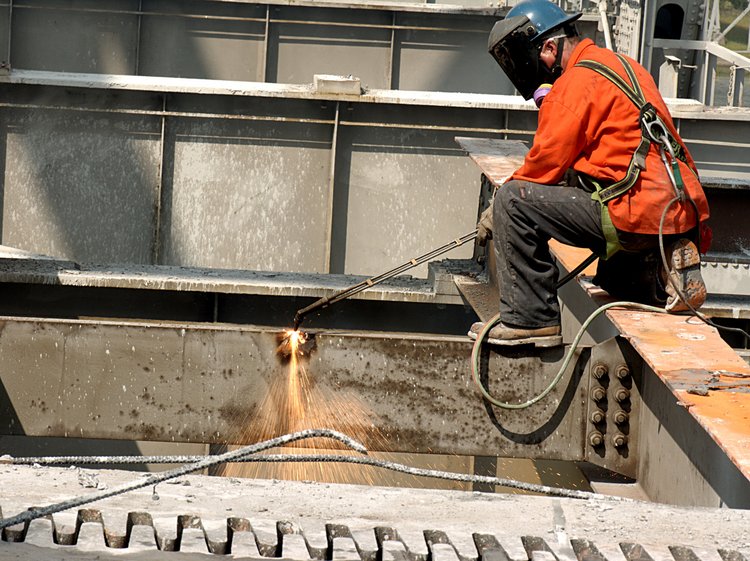
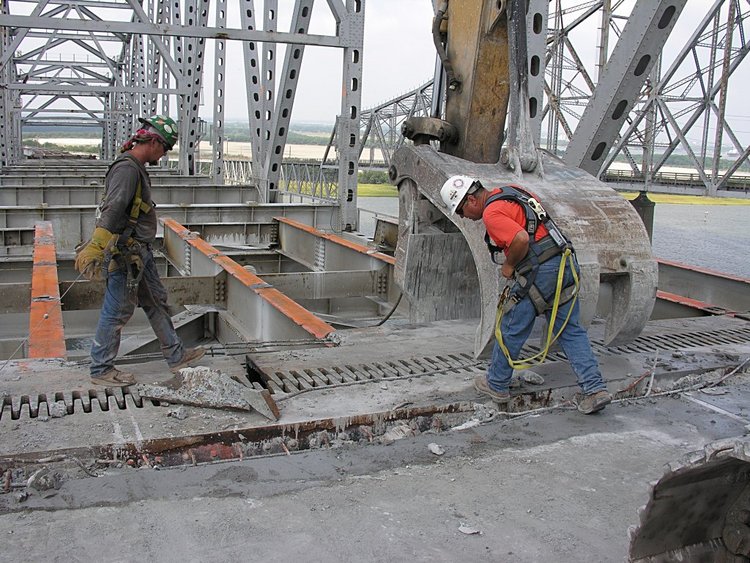
Today's lesson - These guys exhibit the skills of a surgeon and dentist.
Imagine, having to remove these bridges and extract the supporting structures
with minimal disturbance. Yesterday, you saw from Sparky's photos that
the Pearman girders end up in a vertical position.
From a distance it seem like we are building
our own version of
Stonehenge.
Today I asked Pio Monsini how they did this and, as with other Testa skills,
it turns out not to be an accident but rather a detailed procedure
for dropping the girders. After the roadway between girders is
removed, the structural integrity of the girder is broken near one pair
of piers. The weakened girder then rotates down using the other cap as
the point of rotation. Eventually, the structural integrity of the attached
end is weakened sufficiently that the girder breaks loose and falls, almost
vertically. Apparently this reduces the complexity of removing the girders
as well as protecting the region around the girders
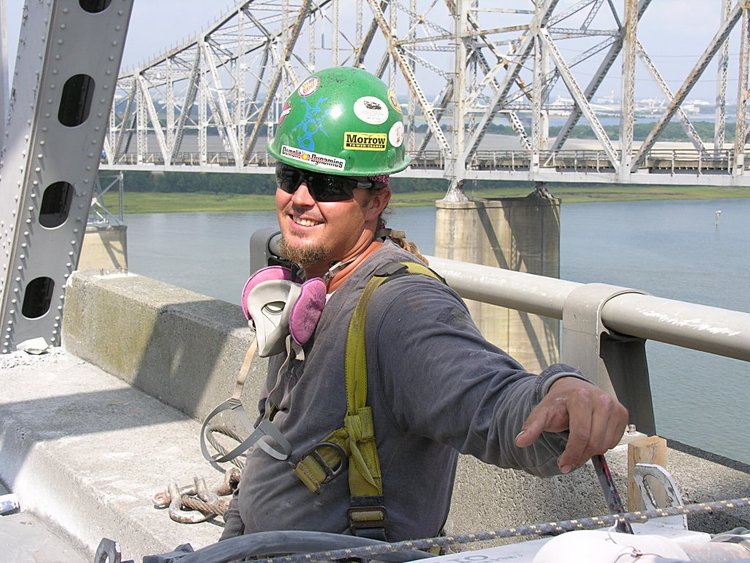
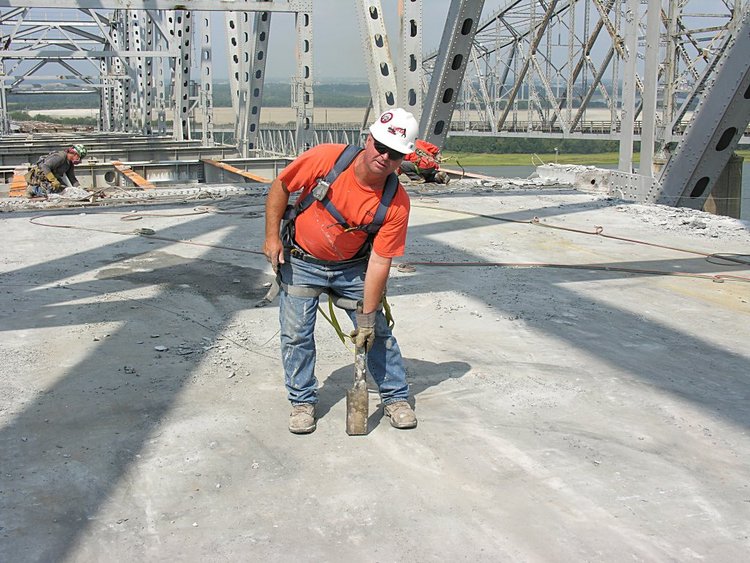
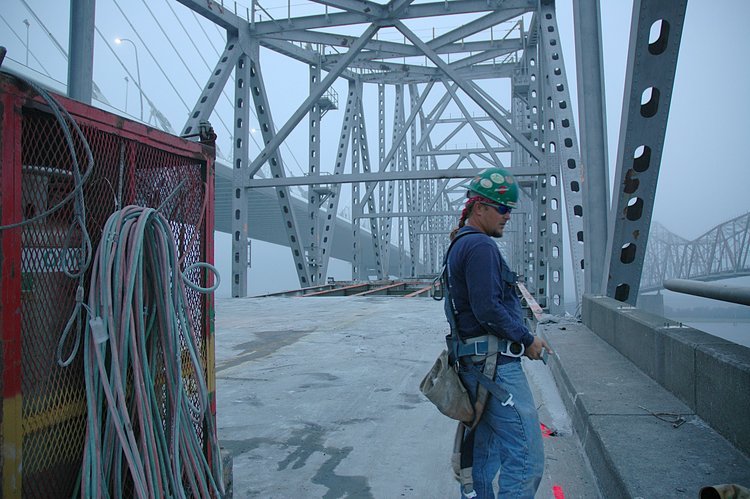
These are some of the members of our surgical team

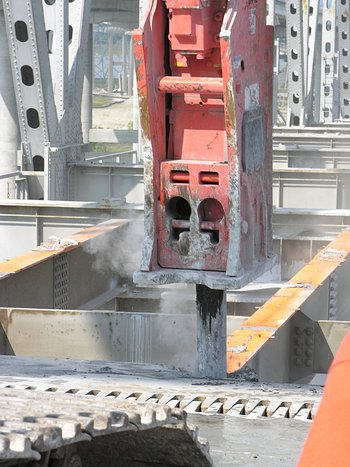
and these are their surgical instruments

and a closer look at the shear (left)
And Pio, Ken and one of the surgeons (I later discovered through his
wife that this is Michael Hebb)

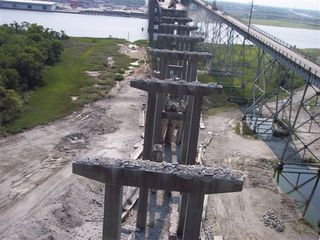
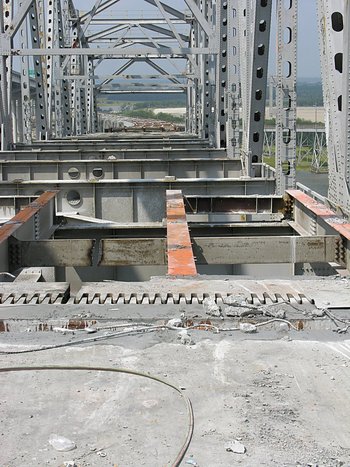
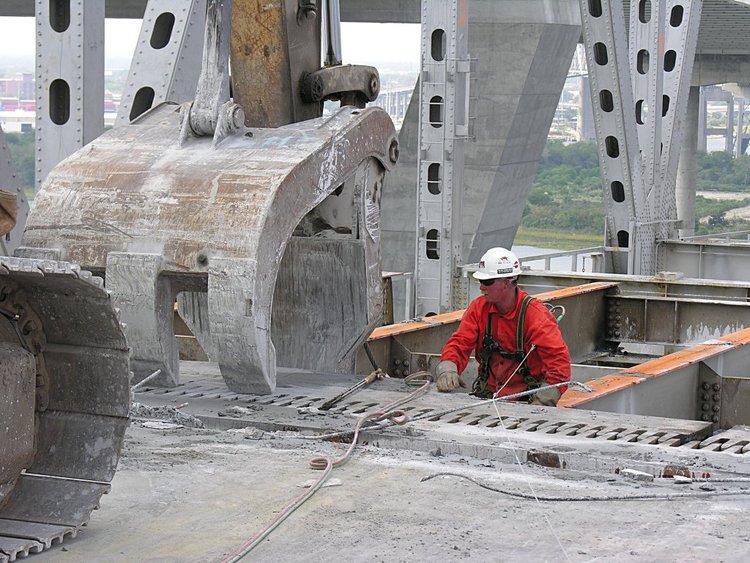
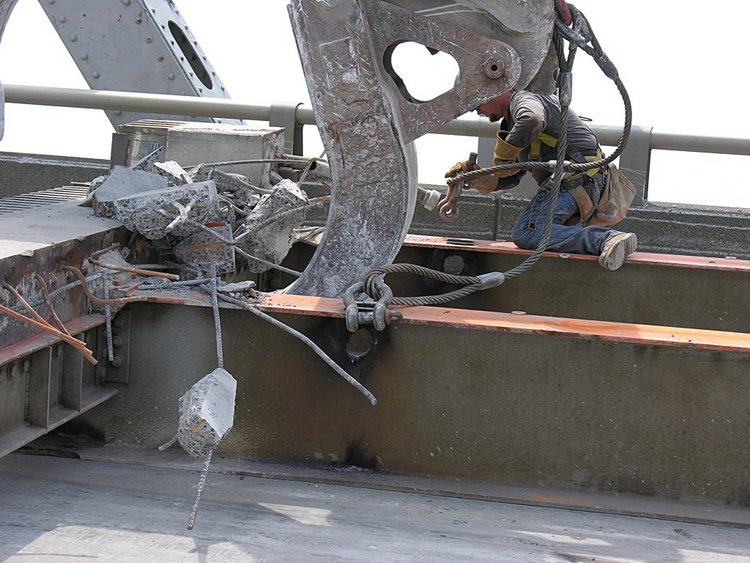
Here is a view of the Pearman caps - extending almost all the way to the
steel superstructure.

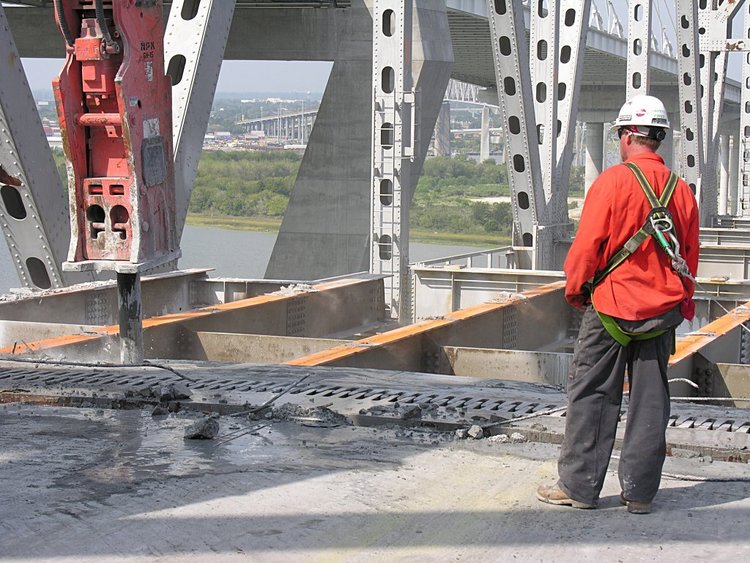
We all see the Testa guys working on the road surfaces, but unable to see
what is actually happening. Here you can see how they use their
shears and grapples to chip away at the
roadway between supporting girders. Once the between-girder
roadway has been removed, the girder can be prepared for removal and
dropped (vertically) into the sandy base under the bridge. Again,
the surgical precision of the removal operation is impressive. Note
near the middle of the image,
the relative position of the girders dropped near one of the supporting
columns of the Ravenel bridge approach. There is about 4-5 feet of
clearance between the Ravenel support and the dropped girder.
Neurosurgeons at work here!

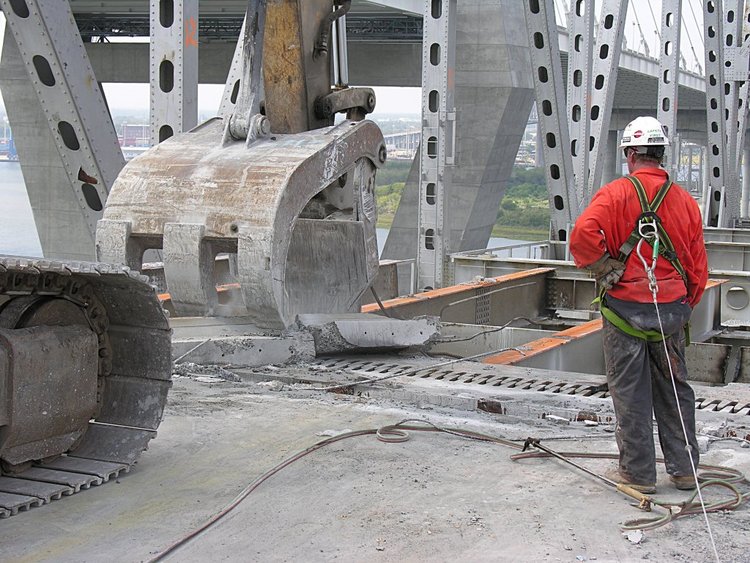
To stabilize the segments east of the expansion joint, it is welded together
thus providing additional stability to the remaining segments.

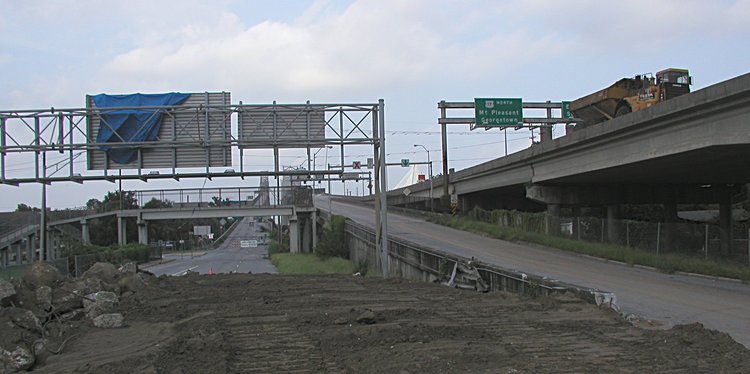
August 18, 2005:
Sparky's view of the Charleston Grace exit

August 19, 2005: Unbuilding the Pearman bridge
This is what remains of the beginning of Coleman Blvd.

This is one of the big mysteries for me. Testa takes the reinforced concrete
chunks and somehow extracts that rebar from the concrete. As I understand
it, this is in preparation for recycling - the rebar goes to a steel mill while
the concrete goes somewhere? Anyone with insights into the process of
separating these components.? (Aug 24, 2005 - Bill Callanan has provided a
great description of the separation process).
The concrete is removed from the rebar using concrete pulverizers and
"Universal Processing" attachments. These tools pulverize the concrete and it
falls from the steel. Then the steel can be down sized using a shear
attachment on the excavator or down sized at the scrap yard. Either way the
down sizing of the steel prepares it for a smelter to be melted down.
By removing the concrete from the steel it can be recycled rather than
disposed of at a land fill. The concrete can be recycled as well once the
steel has been reused.

Here you can see the rebar (and rather long pieces) that has been separated
from the concrete

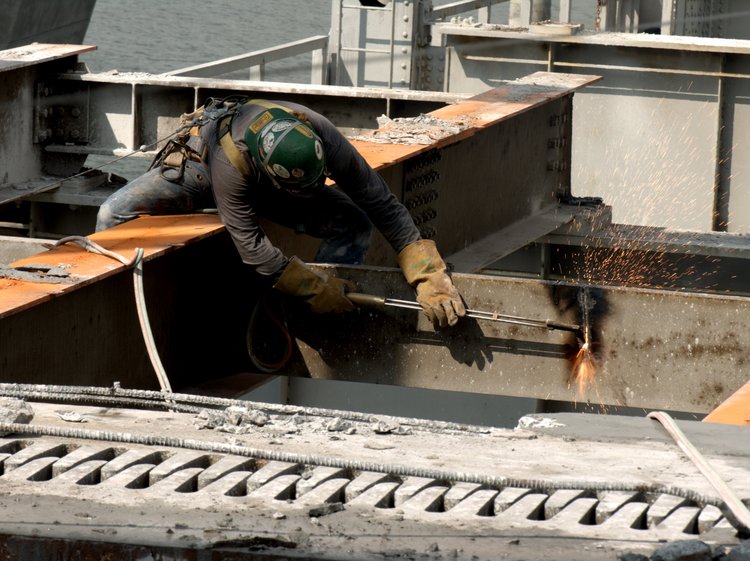
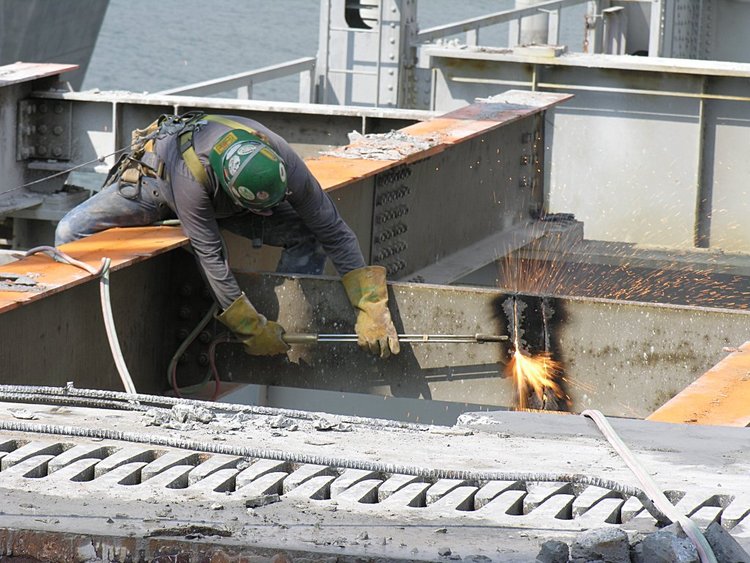
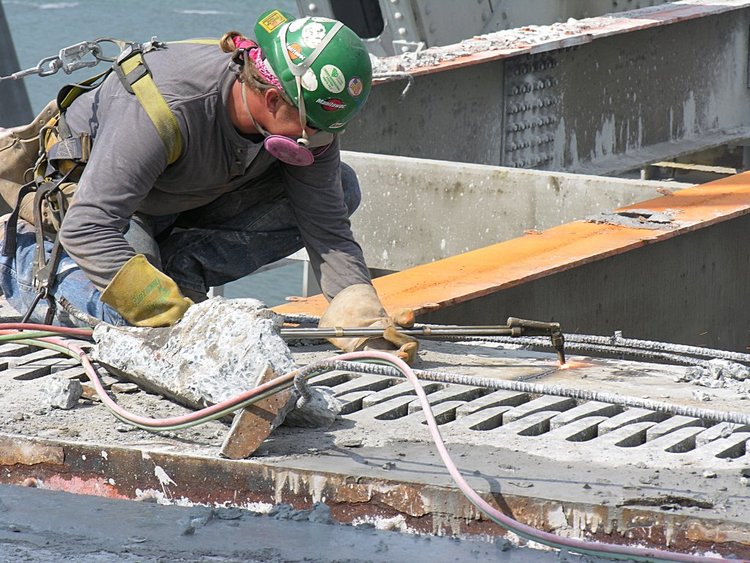
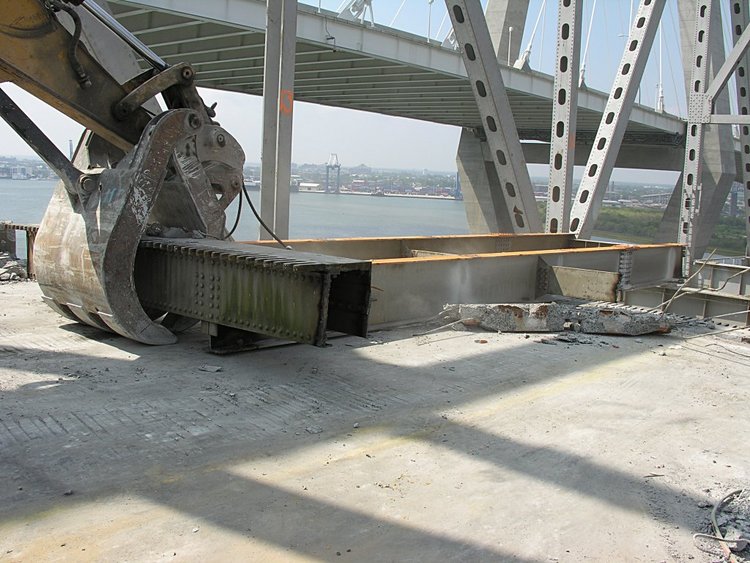
Looking west at the Pearman worksite - an array of dental tools for penetrating
the roadway and removing the concrete - all in preparation to remove the
supporting steel beam structure.

The dental jackhammers used for punching through the road segements between
the I-beams - the first step in cleaning I-beams. To me, to wipe the
tops of the I-beams of the concrete roadbed with their instruments
requires a skill that is difficult to imagine.


Our surgeons at work - cleaning the I-beams that from the base of a span

A closer viewe of the cleaned internal I-beam structure.

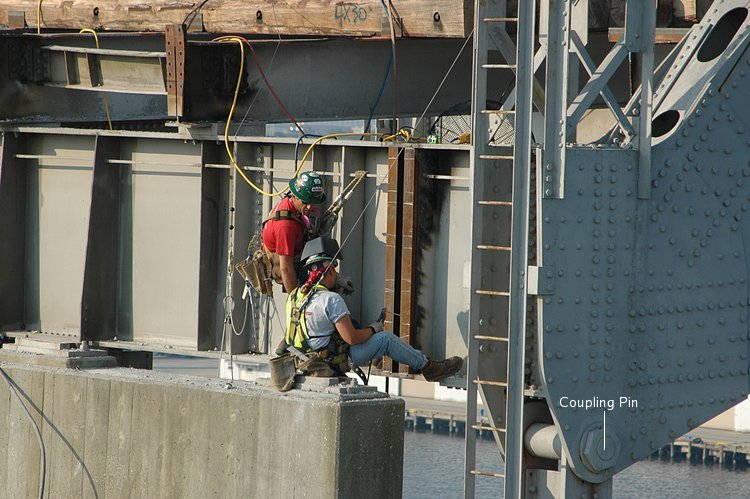
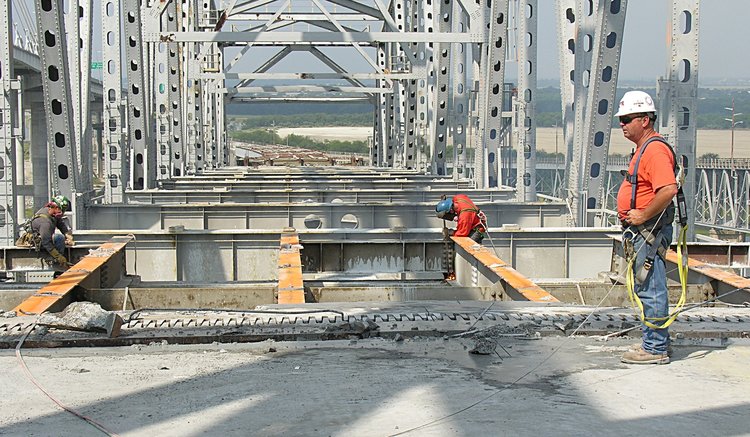
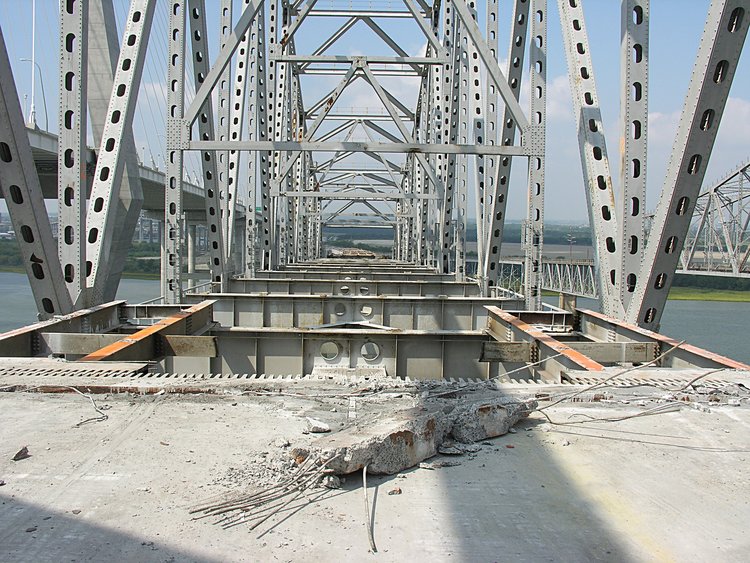
looking east at the Pearman superstructure. The superstructure is
composed of 3 components: 1 cantilevered from each supporting concrete
pier and then a central unit that is pinned to the cantilevered
components. For removal, the points of pinning will be disrupted
so that the central section can crop into the ship channel. Cranes will
be used to life the dropped segment and place it on waiting barges for
a final trip to somewhere.

August 19, 2005: Grace Structure
A view of the main Grace span (March 6, 2005). The peaked superstructure
above each concrete support pier acts as a cantilever. The central
pinned structure has a lower peak.

The Grace spans consist of 3 major components: a center span where the
pinned component is on the lower left and lower right.

and a pier supporting a cantilevered component (left) that is attached by
a vertial element (Ken told me the name and I forgot) (right)


Removal of the Grace bridge will consist of dropping the central component
into the Cooper River, leaving the cantilevered components for later removal.
August 20 2005: Marking the next work sites
It all starts at the boat dock - under the Grace and Pearman approaches


The Testa guys are building a sort of Charleston Stonehenge

Reflections of our Charleston Stonehenge


When the water is calm and reflections are only slightly disturbed - well,
as the Visa add says: "priceless"

Sparky has captured more of the flavor of our Stonehenge


Each supporting column has a number.
Here Ken and Paul are painting numbers on each supporting column
- mostly so that folks like me won't disturb the wrong one


PBC continues a bit of finish work - here, increasing the size of the rock
island surrounding the east pylon

And cargo ships continue to pass along the shipping channel

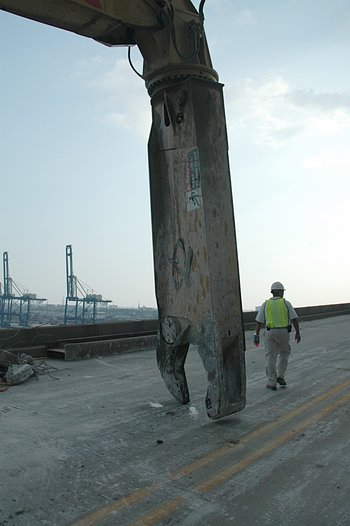
A last look at Testa's dental equipment used for extracting the Pearman
bridge segments.

Sparky captured a pleasant ending of this day - new crossing old

and sunset over the Cooper River.

August 20, 2005: Moving the crane into position
Positioning the big crane for removal of some of the Pearman steel. You
can get an impression of size when compared with the Ravenel towers.

A view from afar

The real thing

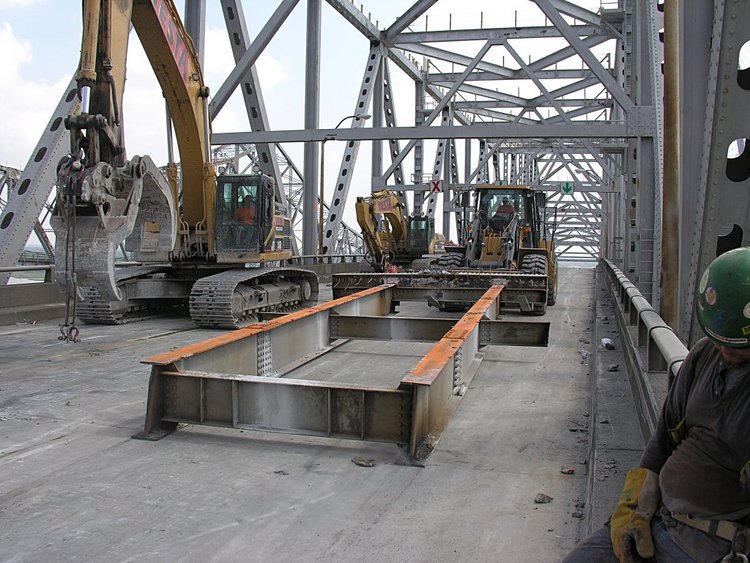
August 22, 2005: Sparky catches more of the Pearman grider extraction.
Continuing to remove girders up to the superstructure
Here you can see the edge girder on the far side resting on the two sets of
caps.

To initiate the extraction, the structural integrity is disrupted just
over the pier cap on the right. Here is shown the early moments
of the girder's rotation around a pivot point over the left cap.

On the downward fall

After the dust mostly settles you can see the girder resting with the left
end between the legs of the piers.

And now its time for a small retreat, preparing to remove the next section

August 23, 2005:
Dropping the last group of Pearman girders
(Thanks to Sparky who is at it again).
Here is the last section of roadway before the superstructure over
Town Creek

After dropping the edge girders - one from each side

Two more left

August 27, 2005:
Looking west,
only the Charleston Stonehenge and the Town Creek superstructure remain.

I am still amazed at how the Testa surgeons drop the griders vertically.


August 31, 2005:
Preparation for dismantling the Grace superstructure
A view of the Grace off-ramp and Pearman on-ramp from Hanover St.
Looking back: the Pearman on-ramp on the left and Pearman off-ramp on
the right. The Testa guys are moving rapidly toward Hanover St.

The pink lines mark the safety zone and
and tie-off reminders

At the base of the Pearman superstructure, plates have been welded across
the expansion joints to stabilize any lateral motion

At the east end of the bridge, Scott Stone's guys are building a
work platform with a safety rail

Another look at building the work platform

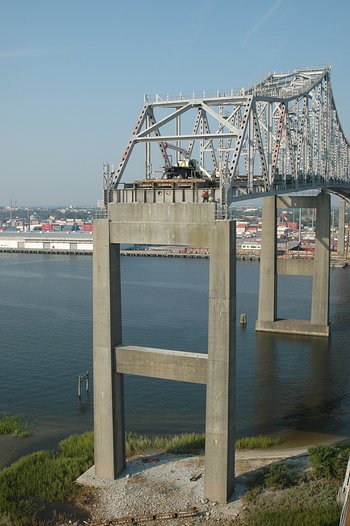
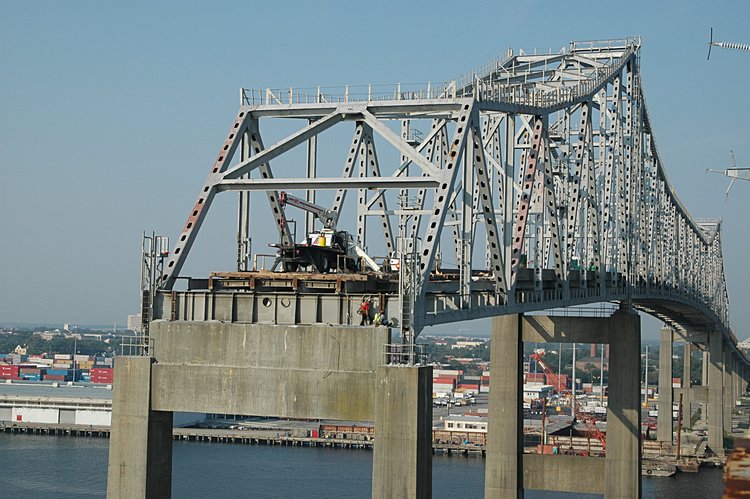
And a couple of last looks at the Ravenel Bridge


September 2, 2005:
From the Ravenel Bicycle lane
The Grace and Pearman above the Sea Breeze Marina - tight quarters

The Grace and Pearman activity - starting to work on the trusses

A pleasant view of the Grace, Pearman and Ravenel

The Pearman truss work - building a platform

Two views of the platform work


The Pearman and Grace Bridges

A closer look at the platform

September 3 2005:
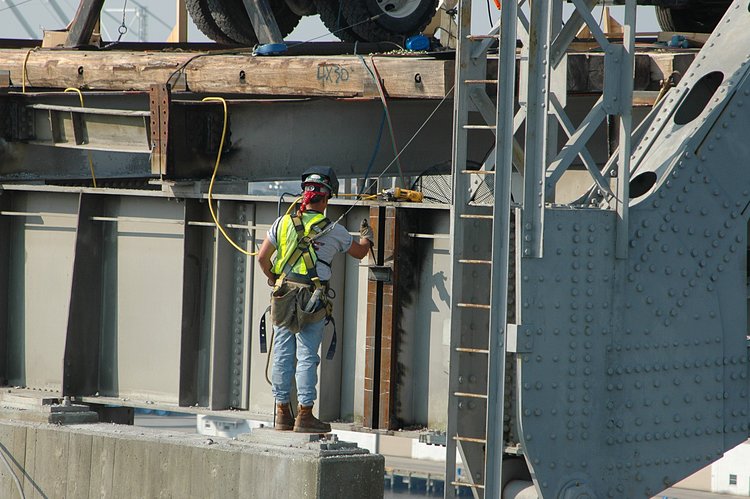
Pearman Superstructure Preparation
The end of the Pearman over Drum Island - building a work platform
for securing the end of the Pearman superstructure

A closer view of the work
On the left you can see a pair of vertical channels with two horizontal angle
iron brackets. On the right, the guys are preparing to add the two
horizontal angle iron brackets

Preparing to weld (with your curious eyes, you can see the welding rod in
his right hand)
About 30 min later - last weld on the top bracket

Cleaning the weld
And more views of the Charleston Stonehenge


September 11, 2005: 4pm
Removal of the Pearman Roadway and
supporting girders
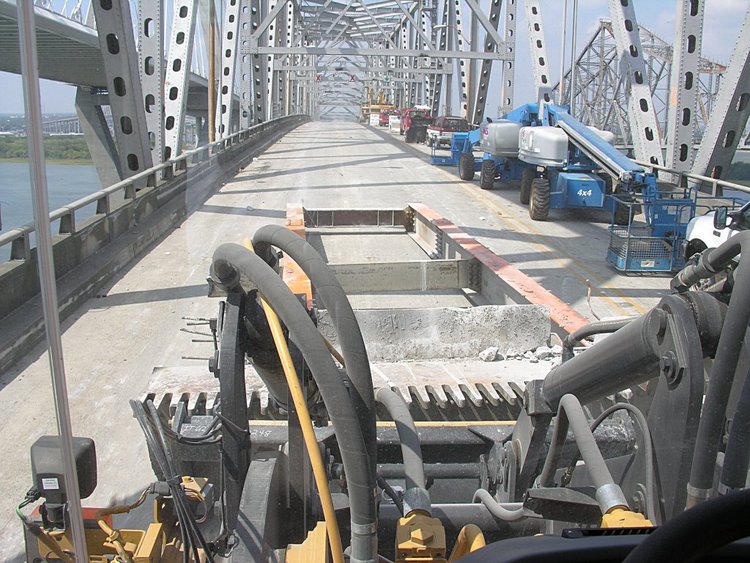
This is where the action is near the base of the Pearman on-off ramps.
Testa is removing panels of the concrete roadway and some of the supporting
girders (See the photos at the end for a view from below which shows
the area where the roadway and girders have been removed and the work area.

And on my way to the worksite - I find Michael (on the left - see the
non-reflective sunglasses) and a colleague (right) cutting a bracket.


Here
is part of our team: Nugget, Michael, Pio, Jim and Richie.
The main idea is that this team removes the concrete roadway - 7 feet at
a time and then the supporting girders - 2 at a time.

Basically, Rich (of Concrete Cutting and Breaking, Inc.) cuts
across the roadway from edge barrier to
edge barrier. Note the harness and restraining cable he is wearing.

Here Rich is cutting toward the opposite edge.

After cutting, a grapple is used to rotate the 7 foot segment up and
move them off the site. This is better characterized in the night
photos below. Here are stacks of 7 foot segments that have been
moved from the Pearman to the base of the approach. Here they
are loaded on trucks and removed.

From below, it is easier to see what is happening. Here the roadway
and the supporting longitudinal girders have
been removed from the far part of the bridge. The cross members and
edge girders remain in place.


Two barges are tied down to catch any small debris from the cutting operation
above

Then the grapple (Probably Michael doing his thing) lifts the segment up.
Here is a sequence from below showing the rotation of 1/2 a 7 foot segment
being rotated up and into a position for removal. The girders, parallel
to the roadway, are later cut and removed. Look under the
red X and green arrows and the missing
support girders are apparent - compared with the darker area.

Here you can see the beginning of rotating the left segment up

and a bit more rotation

and a bit more rotation

until all that remains are the supporting girders which will be cut and
removed

The right concrete panel will then be removed and then another seven foot
segment until the cross beam is reached. Then the supporting girders will
be cut and removed.
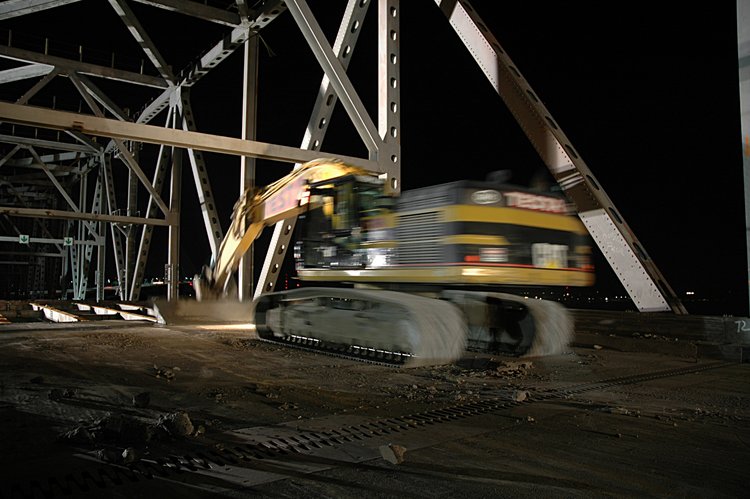
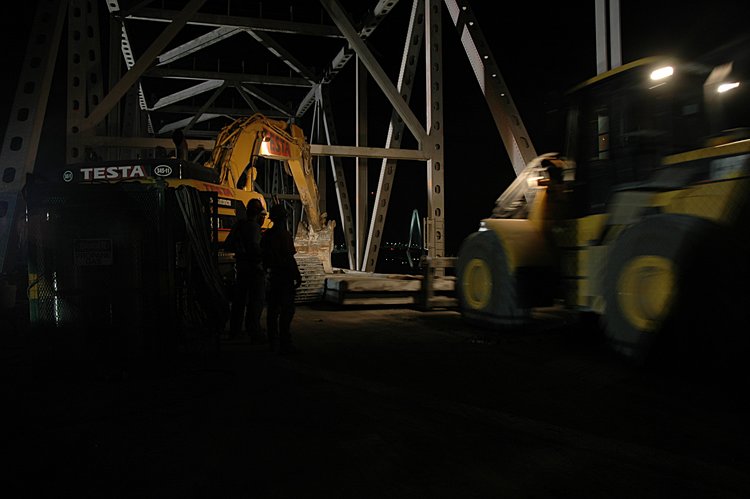
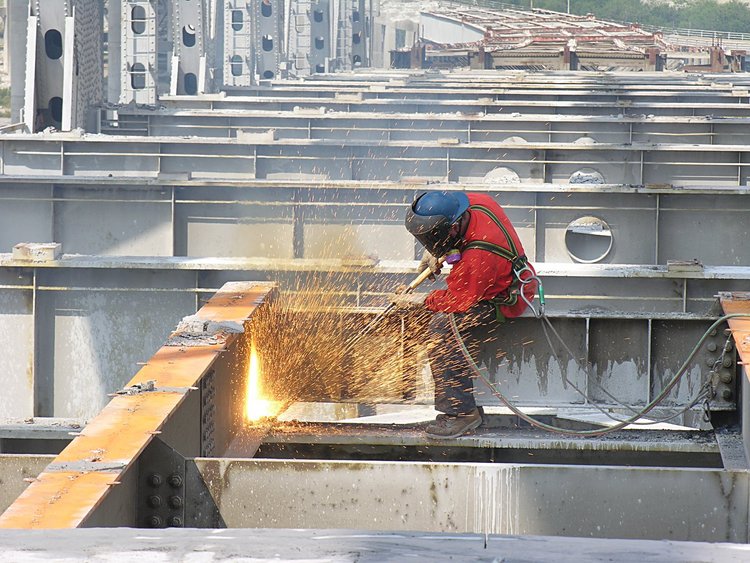
September 11, 2005: 9pm
Night work removing road panels and
girders
The first surprise was that only one tower of the Ravenel Bridge was lit.

But in the meantime, the night crew was continuing to cut the roadway into
7 foot segments, remove them, cut the cross-pieces between the supporting
girders and pull pairs of girders from the supporting structure. Here
is the concrete saw - I suppose its a diamond tip blade.


Then the grapple moves in and lifts a panel (7 ft x 1/2 the road width)

higher

higher
higher

higher

higher

higher until it falls over

Then the panel is pulled away from the work site

and removed by a big-time fork lift
Then more cutting

and more cutting - and at night - with the sparks flying, its better than the
forth of July!

Its interesting with long exposures to see "shadow man"

and more shadow man

Then the grapple moves in again and rotates the panel up

and up

and up

and then picks the panel up as if picking up a pencil from the floor. These
guys really do display incredible surgical skills!

Continuing to pick up the panel

and rotate it 180 degrees and stack them for the fork lift

Then cutting the girders continues - complete with 4th of July sparklers

I suppose its obvious that this really fascinates me!

Now to start the dental process - extracting a pair of girders. First
a pair of cables is attached to the grapple

and the other end to the girders

Another view of attaching the cables to the girders.

and then the grapple stabilizes the girders while the final cutting continues
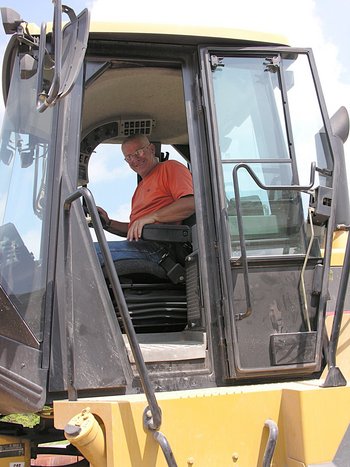
(I think Rick Beauchamp is driving the 345 here and you can see his head
inside the cab.

A few more adjustments

and then the big pull - just like a simple tooth extraction - except
this tooth weighs several tons

Pulling up a little

Then lifting and pulling

and pulling and lifting a bit more

then pulling back a bit more

and then pulling the pair of girders out of the work site
for removal sometime later (tomorrow?)

A bit more of pulling the girders

And finally, the extraction and clean-up is complete. Now
There is a gap where the tooth was and its time to
cut and remove the next pair of girders

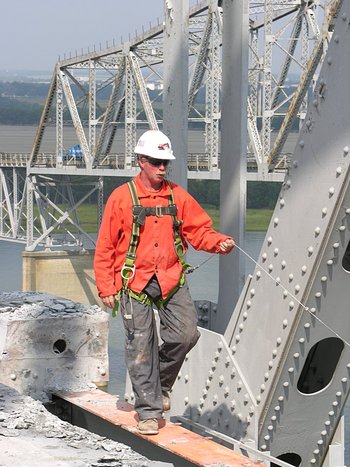
I am quite impressed with the safety of these procedures. In many
photos, you can see the tie-down cables and these guys are like
high wire artists with torches.
September 12, 2005:
A buffet of Pearman roadway and girder unbuilding
Here is the boundary between the roadway removal and open spans - as seen
from the Grace Bridge

Another view of the boundary

And there is always clean-up going on - Pio is a hands-on supervisor

A week ago I was puzzled by the work at the eastern end of the
superstructure. Testa was placing the vertical channels and welding
angle irons. Well here, it seems they were making what I would call
a tiedown - brackets that bind the bridge girder structure to the concrete
pier.
Ken Canty and I talked about this and Ken helped me to understand what is
going on. If you look at the right side of the concrete support, you will
see a pin the couples the steel superstructure to the concrete support.
As the concrete roadway is removed the entire bridge structure loses
weight - sort of a Testa-diet. The tendancy, then, is for the concrete
support to rise - since for all the time since the bridge was built
the concrete support has had the weight of the bridge on it.
So, if enough weight is removed from the bridge, all the stresses will be
concentrated in the two coupling pins. To assist the bridges integrity,
the steel superstructure is couple via the tiedown cables (see the beam
that link the short beam resting on top of the transverse girder (on
either side) with a similar beam under the concrete cross
member.

September 19, 2005:
Removing the Cooper River segment
of the Pearman roadway
Work continues on the Pearman - working over the Cooper River.
Here is the transition from the Drum Island supports to the
Cooper River supports.


And a view of the Ravenel Bridge and the main span approach of the
Cooper River segment of the Pearman Bridge

Looking back at the super structure pin region

And Testa working away at removing the roadway over the Cooper River

I thought it would be interesting to get another look at the Pearman
skeleton from below


and surprise - I caught Michael Hebb working away at lunch


September 20, 2005:
Tooth Extraction and Root Canal jobs
on the Pearman roadway.
I continue to be impressed with the skill and art of these Testa
surgeons and dentists. Here is the story of tooth extraction and
a root canal procedure. It starts by a walk from the Mt. Pleasant
side of the Pearman Bridge.
The basic procedure is to cut the concrete roadway into
7 foot strips, remove them and then remove the underlying
girders. Here is a segment of roadway being placed on the
forklift (driven by Jim) by the 345 grapple, Michael (whose wife
Tina continues to encourage me with these stories).
Here Michael's 345 (right) releases the concrete segment onto Jim's
mega-forklift (left) and off Jim goes to the recycling center at the
base of the bridge (Coleman Blvd).
Jim gets a lot of practice driving backwards
Here is Richie - one of the skilled surgeons, who, with a torch,
can cut anything

and Nugget (Mike) who has yet to tell me his story
The extraction process starts with Mike's jack - which hammers
a channel along the length of the expansion joint

and Richie looking on - To see this live,
click here (20 Mb
quicktime video)
After the channel is prepared, Richie suits up for a bit of cutting
while Jim enjoys the comfort of his forklift

Torch (unlit) in hand, Richie walks out on the right girder to cut elements
that bond it to the bridge structure
while Nugget is cutting away on the left side
All the time - Pio is watching and in communication with the home office
Richie cutting a crossbeam
Nugget is making the first cut to sever a crossbeam
and here, Nugget is making the 2nd cut to sever the brace between
the two girders
while Richie is making a July 4th display with his cutting
Next, Nugget cuts the expansion joint and literally extracts a tooth from the
expansion element. Another tooth is extracted and this divides the roadway
girder structure into three components.
Meanwhile, Michael and Jim are just chillin' a bit while the cutting
continues.
And as you can see, Pio is holding one of the teeth - root and all
and a rare photo of Michael, Frank and Pio. Jim takes better photos
than I do

Here are the middle and right girder segments - what we refer to
as the root canal

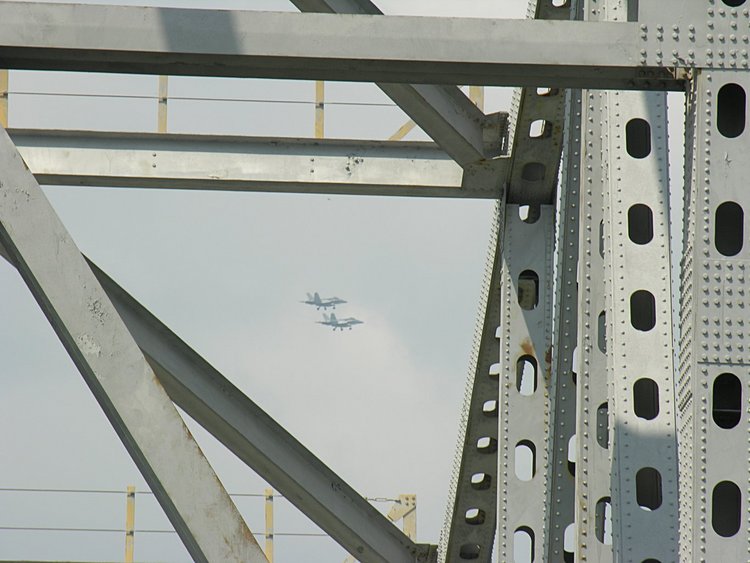
and to add to the entertainiment two F-somethings have their landing
gear down - I suppose to land somewhere
Michael with his grapple, reaches under the expansion joint and
pulls it up
Oops - it did not want to cooperate - so just as in the dental
chair - a bit of investigation is in order.
Richie goes back down to cut a remaining bolt - that I suppose was
a surprise
Richie watches as Michael takes another pull - and
up comes the middle pair of girders
now Michael pulls the girders backwards and onto the roadway
and gently places it on the road. For a video of the
extraction process
click here
(30 Mb quicktime video)
This is now what the girder structure looks like with one root canal
gone
Nugget uncouples a shackle tied to one set of cables from the girder
pair while Michael is
driving the grappel and Jim is driving the mega-forklife
here Nugget is removes the other shackle that uncouples the other cable
and Jim drags it down to the Mt. Pleasant reprocessing plant. Lots
of practice with backwards driving
a bit more backing up
and a nice view of the Ravenel Bridge
and deposits it in the recycling and reprocessing plant.
Note the stacks of 7 foot roadway segments. Here
concrete is separated from rebar, girders are cut and a lot of
other stuff that minimizes that waste.

September 29, 2005: Test blast on Drum Island
Sparky and Mickey Rogers came to the rescue while I was at NIH
Here is the before image. Look carefully at the support with the
vertical column of holes - that contains the explosive charge

Better shown here

and from a different vantage point (before)

The blast (from Mickey who works for Advanced Blasting Services).
Note that the blast started at the bottom of the columns and was timed
to work its way up the column.
Click for a video (Windows Media Video format) or
Click for a video (1 Mb mpg)

and from Sparky

The smoke

more smoke

more smoke

and as the smoke settles -

and now - just another cloud

After the blast - just pieces

Another view - and my assessment is that the blasting guys represent another
surgical specialty within the Cashman/Testa team.

And of course - cleanup at the bottom

and cleanup at the top

September 30, 2005: Mt. Pleasant side of the Pearman work site
It was a foggy and dark morning - and a quiet that walks with the
early morning. But the guys were at it - Pio, Nugget, Mike, Jim - working
on the last segment of the Pearman roadway (up to the end of the superstructure)
Here is the recyling area - lost of sections of edge barriers for
rebar recovery

and Jack and his colleage (another short term memory problem of mine).
Here - note the use of the bridge roadway segment to make a work surface
for rebar recovery

Here is an interesting view of the pearman site - with Jim's headlight
in the background as he brings a road segment down to the recycle
area

And a better view of Jim and his mega-forklift

Here is Michael - chillin' a bit while the roadway is cut

Here is the remaining roadway to be removed today

and Nugget has just finished his cutting
 Tools ready and waiting

Richie has finished some of the cleanup and more chillin' together with Mike.
Note that at 7am, Michael is not wearing sun glasses.

Meanwhile, Jim is fetching and toting road segments to the recycle
area - and stacking them in nice neat stacks. Later these will be used to make
a temporary roadway for the CATs as they work their way around the bases of
the Grace and Pearman bridges. More recycling - someone on the team
is a chess master and thinking 14 moves ahead!

And Jack got the same message - no sun glasses this morning

Click to view all unbuilding web page segments

This work is licensed under a Creative Commons License.
Attribution: C. Frank Starmer and Sparky Witte from http://oldcooperriverbridge.org


